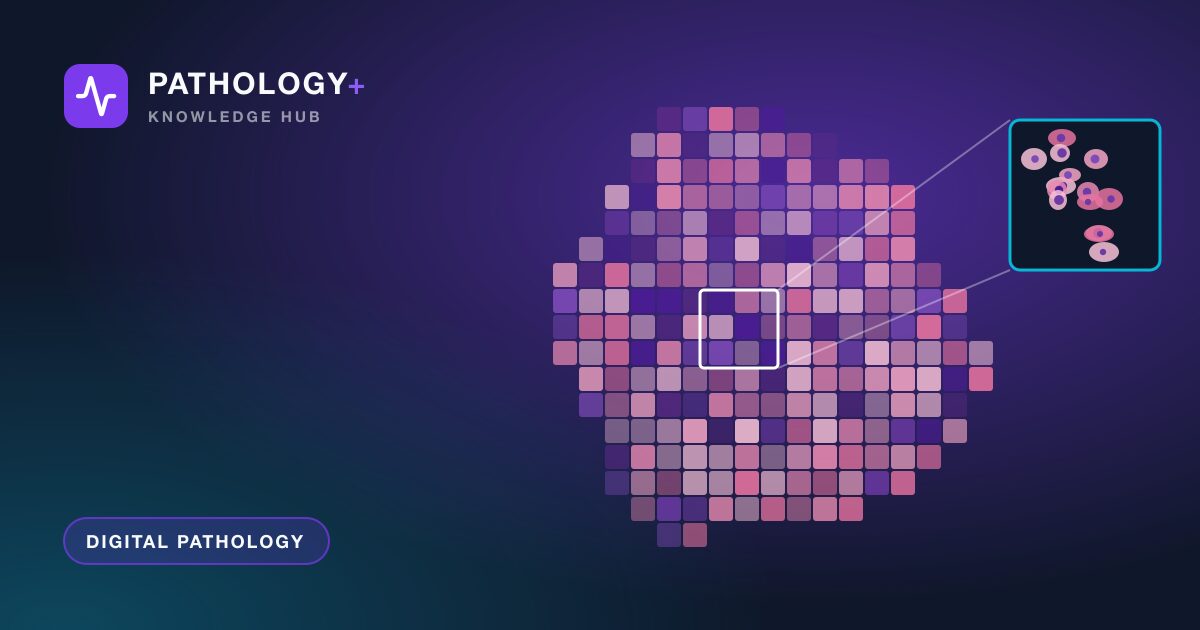
Whole slide imaging turns a glass slide into a digital image detailed enough for a pathologist to navigate as if using a microscope. Understanding how that happens helps pathologists, histotechnologists and IT teams make better decisions about scanners, storage and workflow, and explains why some slides scan beautifully while others need a second attempt.
Why a slide becomes a gigapixel image
A microscope shows only a small field of view at high magnification. To capture an entire tissue section at that level of detail, a scanner has to record thousands of small fields and join them into one seamless picture.
The arithmetic explains the size. At the resolution commonly used for 40x scanning, roughly a quarter of a micrometer per pixel, a tissue area of 15 by 15 millimeters becomes about 60,000 by 60,000 pixels. That is around 3.6 billion pixels for a single section. Stored uncompressed with three color channels, it would take more than 10 gigabytes. Compression brings that down substantially, which is why typical files land in the range of hundreds of megabytes to a few gigabytes.
If you are new to the wider topic, our overview of what digital pathology involves for a laboratory covers the workflow around these images.
How whole slide imaging works, step by step
Most brightfield scanners follow the same broad sequence, even though the engineering differs between vendors.
- Slide loading and identification. The slide enters a rack or tray, and the scanner reads the label barcode so the image can be linked to the right case.
- Overview image. A low-resolution snapshot of the whole slide is captured, including the label area.
- Tissue detection. Software identifies where tissue is so the scanner does not waste time on empty glass.
- Focus mapping. The scanner samples focus at multiple points across the tissue, or adjusts focus continuously while scanning, to build a map of the best focal plane.
- High-resolution capture. The tissue is imaged at the target magnification.
- Stitching and compression. Individual captures are aligned, blended into a single image and compressed.
- Pyramid creation and storage. Lower-resolution versions are generated for fast viewing, and the file is written to storage.
Tile capture versus line scanning
Scanners capture image data in one of two main ways. Some use an area camera to photograph a grid of tiles, moving the stage between each one. Others use a line sensor that sweeps across the slide in long strips. Both approaches can produce diagnostic-quality images. The differences show up in speed, the visibility of stitching seams, and how well the system copes with uneven tissue.
Why focus is the hardest part
Tissue sections are not perfectly flat, and coverslips, mounting medium and folds add variation. If the focus map misses a region, that area will look soft. This is the most common reason for a rescan, and it is why slide preparation quality has such a direct effect on scanning success.
Magnification and resolution on a screen
Scanner specifications usually quote 20x and 40x modes. These describe the equivalent optical magnification, and the more useful figure is the sampling resolution in micrometers per pixel. Roughly speaking, 20x scanning corresponds to about half a micrometer per pixel and 40x to about a quarter of a micrometer per pixel, though exact values vary by scanner.
Higher resolution shows finer detail but produces larger files and longer scan times. Many labs scan routine histology at 20x and reserve 40x for case types where fine nuclear or microbiological detail matters. That choice should be made with pathologists and confirmed during validation, not decided by storage cost alone.
On screen, digital magnification is continuous. A pathologist can zoom past the captured resolution, but no new detail appears. Zooming in further only enlarges pixels.
The image pyramid: why huge files open quickly
Nobody could open a multi-gigabyte image in one piece. Whole slide images are stored as a pyramid: the full-resolution image at the base, with progressively downsampled copies above it. Each level is divided into small tiles.
When a pathologist opens a slide, the viewer loads only the tiles needed for the current view at the current zoom level. Panning and zooming fetch new tiles on demand. This is why a well-designed viewer feels responsive over a decent network connection, and why viewer performance depends heavily on storage speed and network latency rather than raw file size.
From scanner to case: where images go
A scanned image has value only when it reaches the right person with the right context. In a typical setup:
- The scanner writes the file to a network storage location or an image management system.
- The barcode or slide identifier links the image to the case, block and stain.
- A technologist performs a quick quality check for focus, missing tissue and label accuracy.
- The case appears in the pathologist's worklist with images available alongside requisition details and gross description.
Each handoff should be automatic. Manual renaming or drag-and-drop filing introduces exactly the identification errors that barcodes were designed to remove. It is worth mapping this path against your existing end-to-end anatomic pathology workflow before choosing equipment.
Limitations to plan for
Whole slide imaging is mature, but it has known limits.
- Single focal plane. Most scans capture one plane. Thick cytology preparations and some features benefit from multi-plane (z-stack) scanning, which multiplies file size and scan time.
- Special preparations. Fluorescence, polarization and very large whole-mount slides require specific scanner capabilities.
- Small or faint findings. Some microorganisms, crystals and subtle features may be easier to confirm on glass.
- Color variation. Staining differences between batches and labs are captured faithfully, and scanners and displays add their own variation.
- Pre-analytical problems. Folds, bubbles, debris and pen marks are recorded as part of the image.
None of these is a reason to avoid digital review. They are reasons to define which case types go digital, keep a microscope available, and build image quality checks into the workflow. Consistent, well-captured images are also what any later AI assistance in pathology depends on.
Key takeaways
- Whole slide imaging captures thousands of high-resolution fields and stitches them into a single gigapixel image.
- Focus mapping is the most demanding step, and slide preparation quality strongly affects success.
- Resolution in micrometers per pixel matters more than the magnification label, and it drives file size.
- Image pyramids and tiled viewing make large files responsive, so storage speed and network latency matter.
- Plan for the known limits with clear case selection, image quality checks and glass as a fallback.
If you are working out how scanned images would flow into your reporting process, book a demo to see how PATHOLOGY+ links whole slide image viewing to case tracking and sign-out.